Quickstart
Process analysis using Process Explorer 360 consists of several main steps:
- The creation of your projects via the home page
- Open a project and add data to it
- Start the analysis once the data has been processed
In the following, we will review these different steps on an example file. You can reproduce this, step by step, by downloading the following CSV example file, using this link: Example File.
1. Create a project
From the Process Explorer 360 home page, create a new project, by clicking on the "+" button which is located after the projects of your workgroup. If you are not yet added to your workgroup, contact your support.

The following popup then opens:
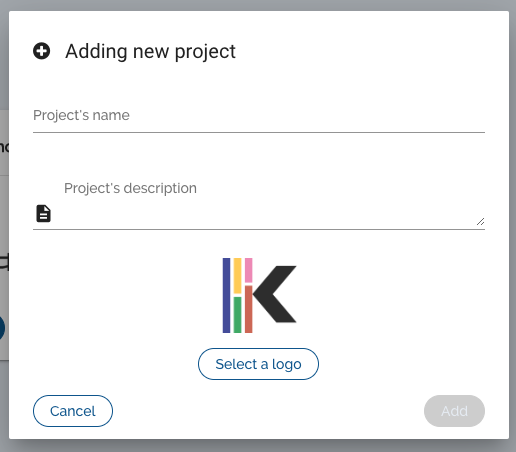
Enter a project name (required) and a description (optional) in the fields provided. You can also select a logo for this project.
Then click on the "Add" button to create the project.
And voila! You have created your first project on Process Explorer 360. Easy isn't it? Now let's go to the step of adding data!
2. Add data to a project
Once the project is created, it is visible on the home page:

To import data into the project, click on the "Open" button of the project.
The following popup opens to request the type of data to import:
- CSV file,
- database query by REST API.
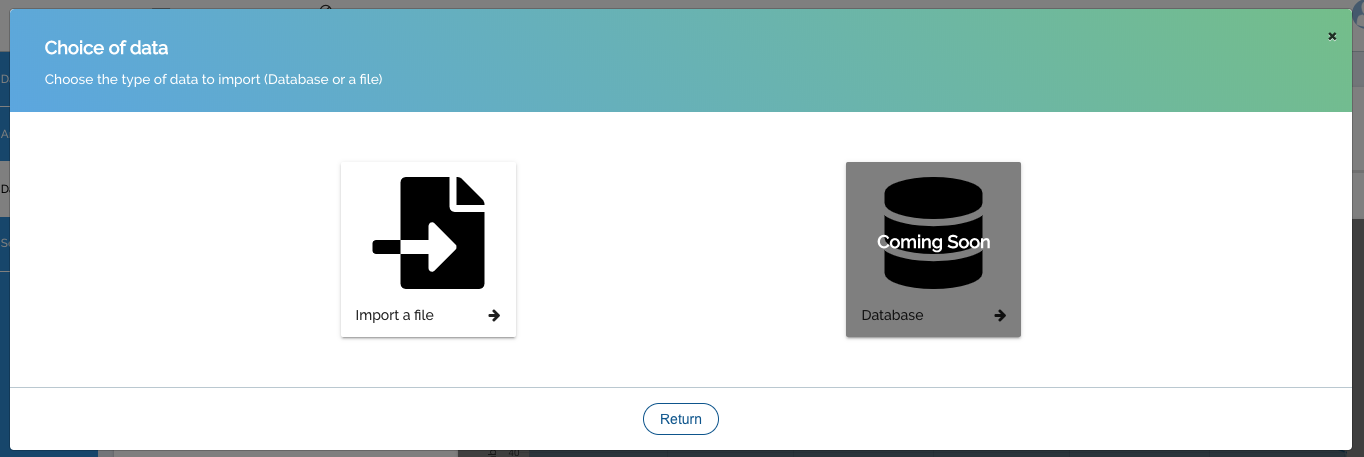
Click on "Import a file".
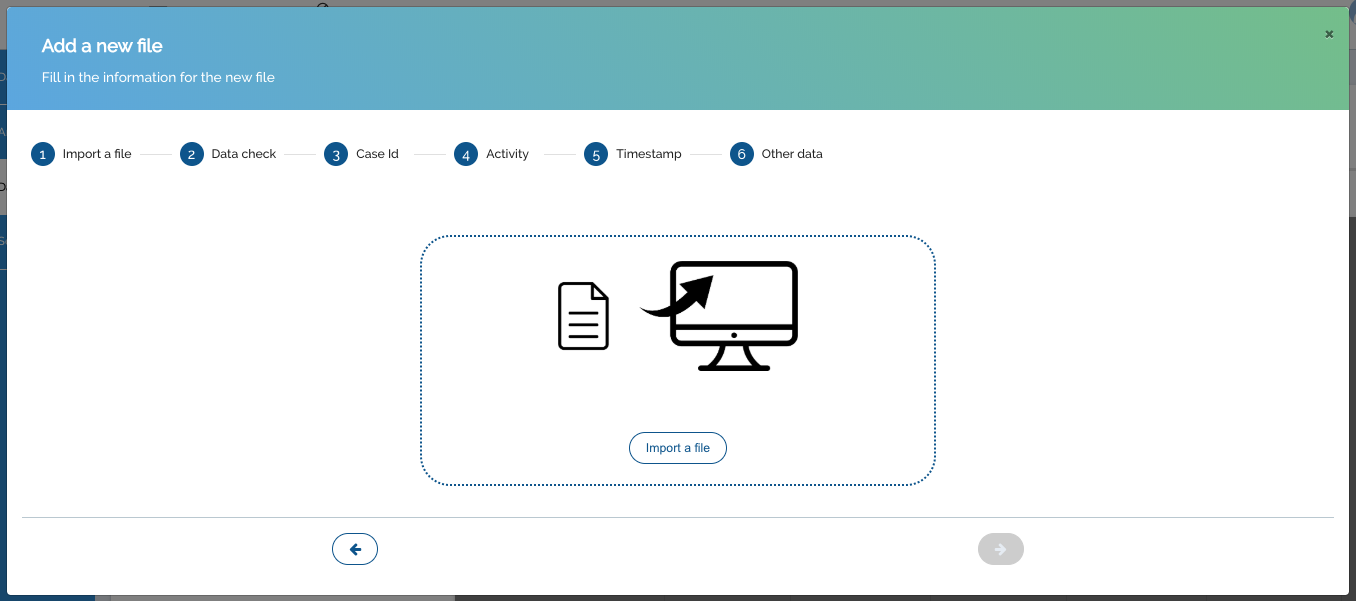
Click again on "Import a file", then select on your computer the CSV example file that you downloaded at the beginning of the chapter (if you haven't, here's the link: Example File).
The data is now imported into the project. Process Explorer 360 confirms this by checking the "Import a file" step in the step progress display.

Remark: You can follow the progress of the different steps in this display. Think about it if you are lost!
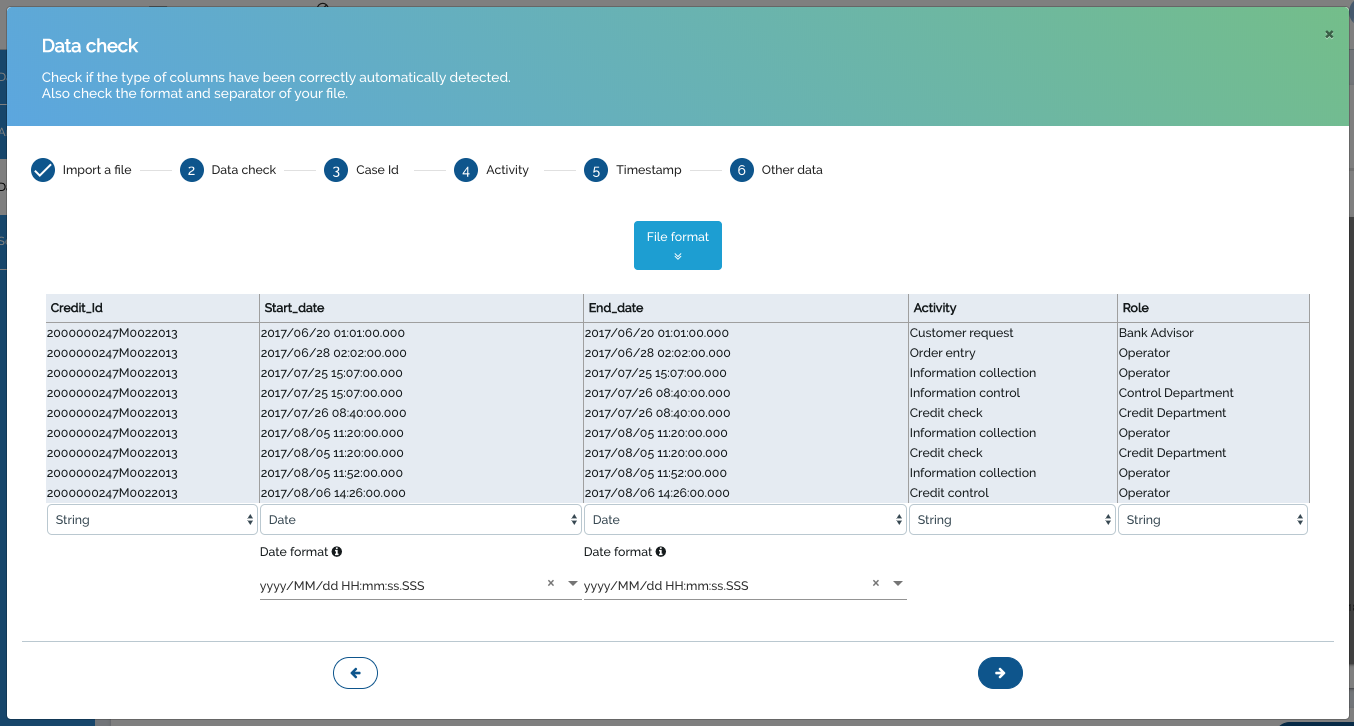
Process Explorer 360 now asks you to verify that the data formats correspond to those automatically detected (for more details on this part, see the section Project/Add data to a project).
To go to the next step, click on the  button, at the bottom right.
The following steps consist in selecting the various compulsory columns for the construction of a process analysis (for more details on these columns, see the section Project/Prerequisites).
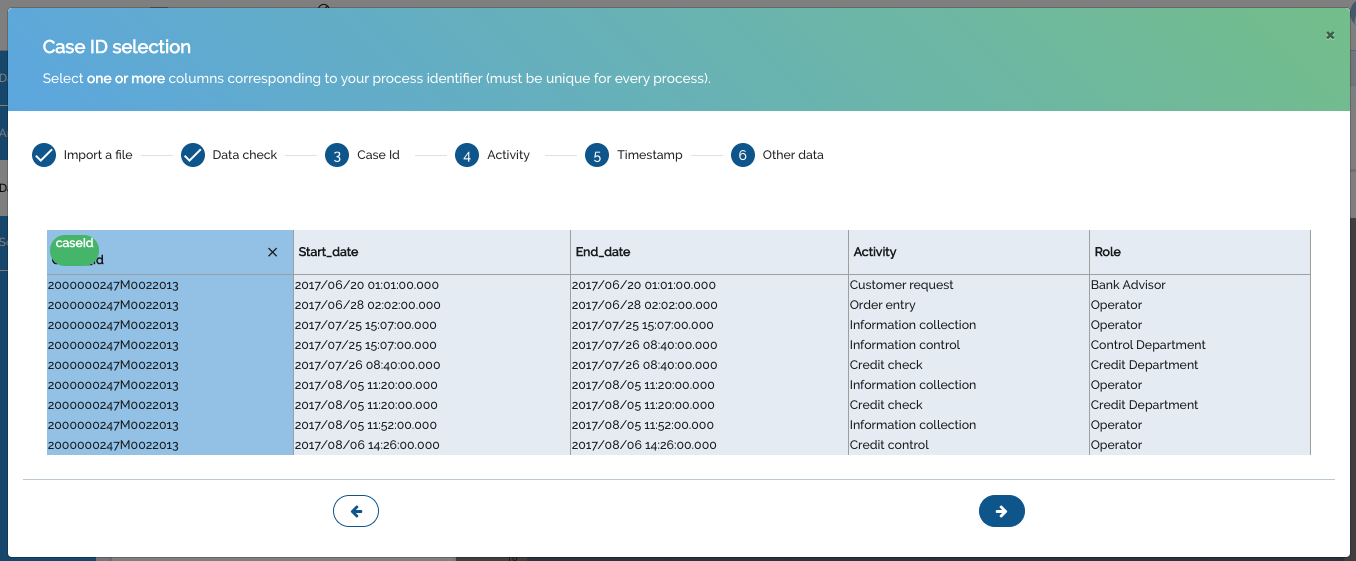
The first column to select is the unique case identifier.
Click on the "Credit_Id" column to select it. To go to the next step, click on the button, at the bottom right.
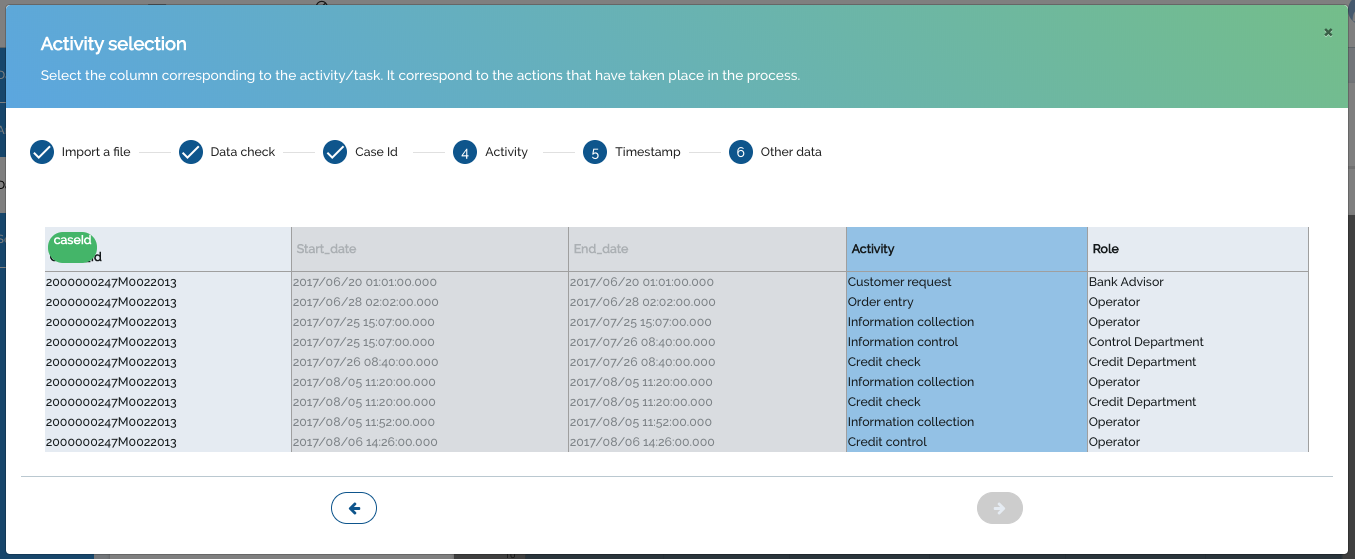
Process Explorer 360 now asks you to select the column representing the activities, i.e. the stages of the process.
Click on the "Activity" column to select it.
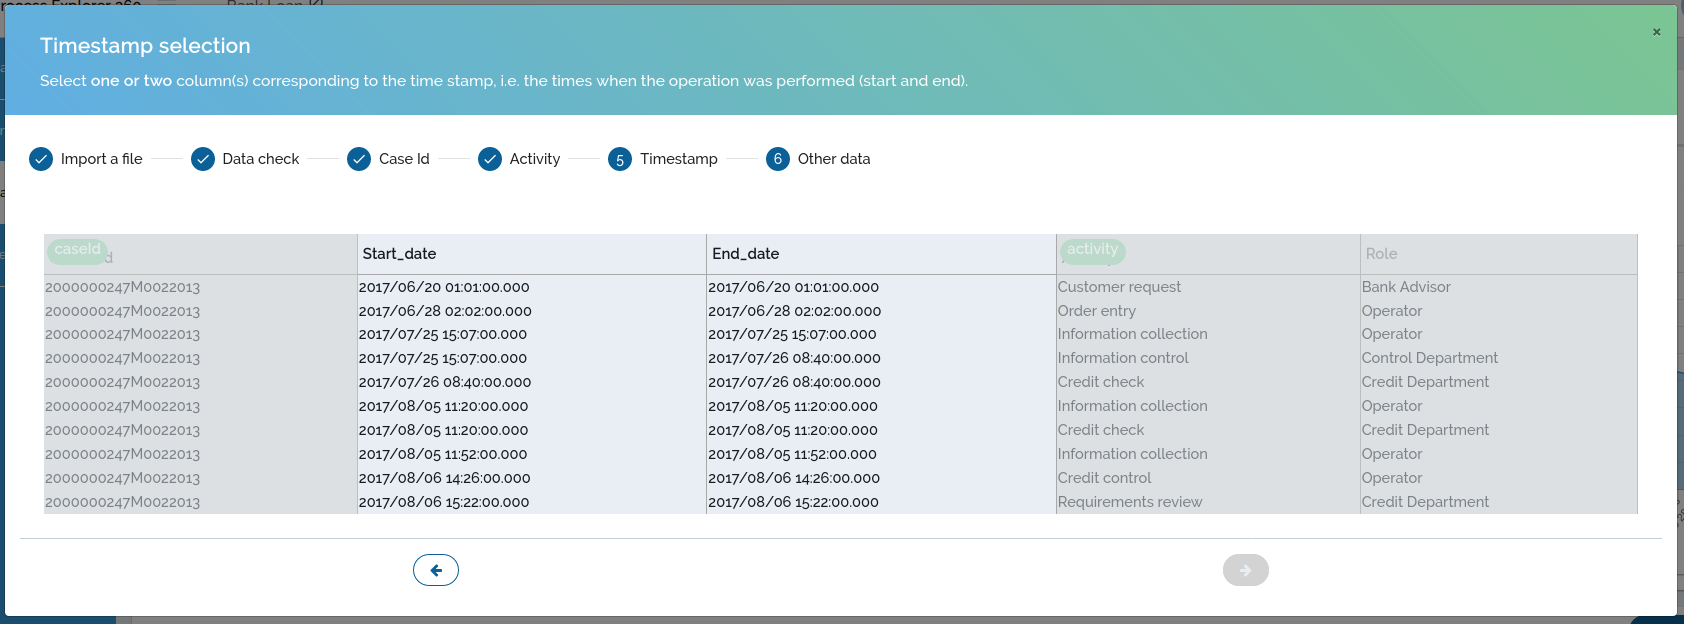
Then, Process Explorer 360 allows you to select the timestamp(s) of your file.
It can be one or two columns, if your dataset includes both start and end timestamp of activities.
One timestamp is sufficient, two timestamps is better to detect task parallelism.
Click once on the "Start_date" column to select it, then once on the "End_date" column to select it.
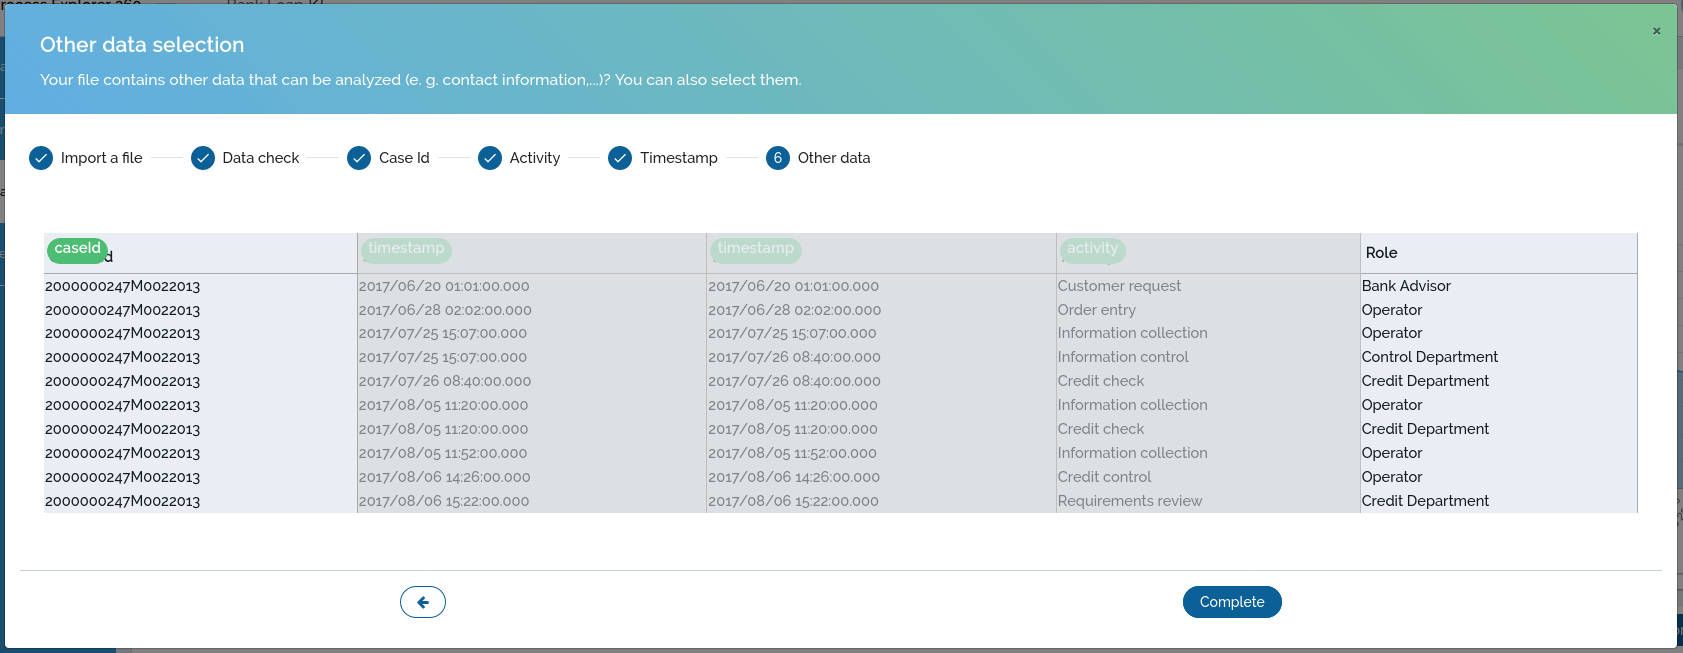
Process Explorer 360 then proposes, if you wish, to add additional columns to improve the analysis. In our example, we will add the column containing the roles linked to each activity.
Click on the "Role" column to select it.
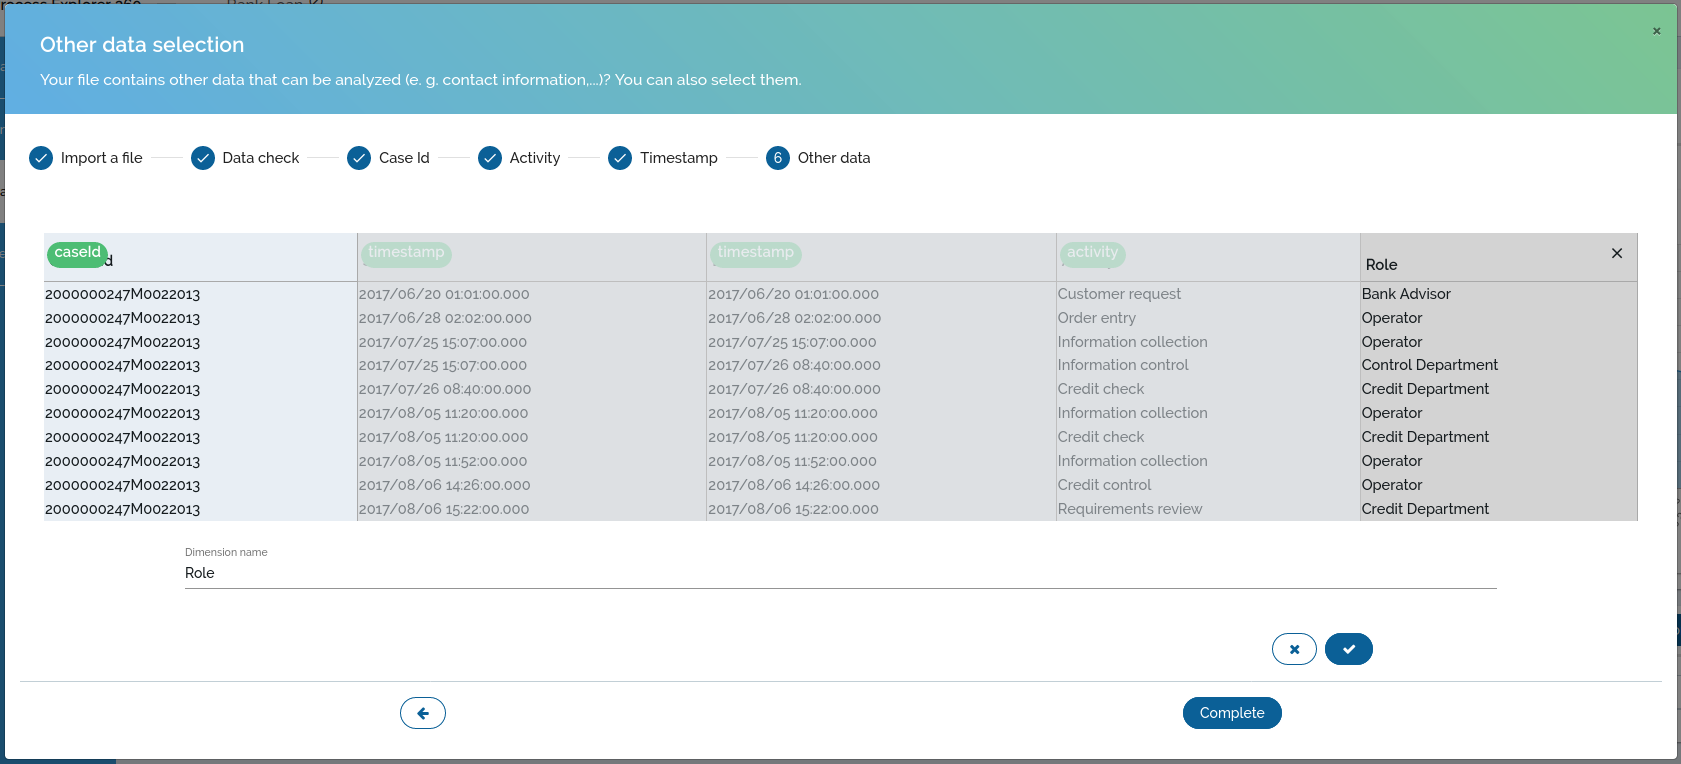
If you wish, you can edit the name of the selected column in the field provided.
To validate the selection of this column, click on  .
.
Then to complete the characterization of the data, click on the "Complete" button.
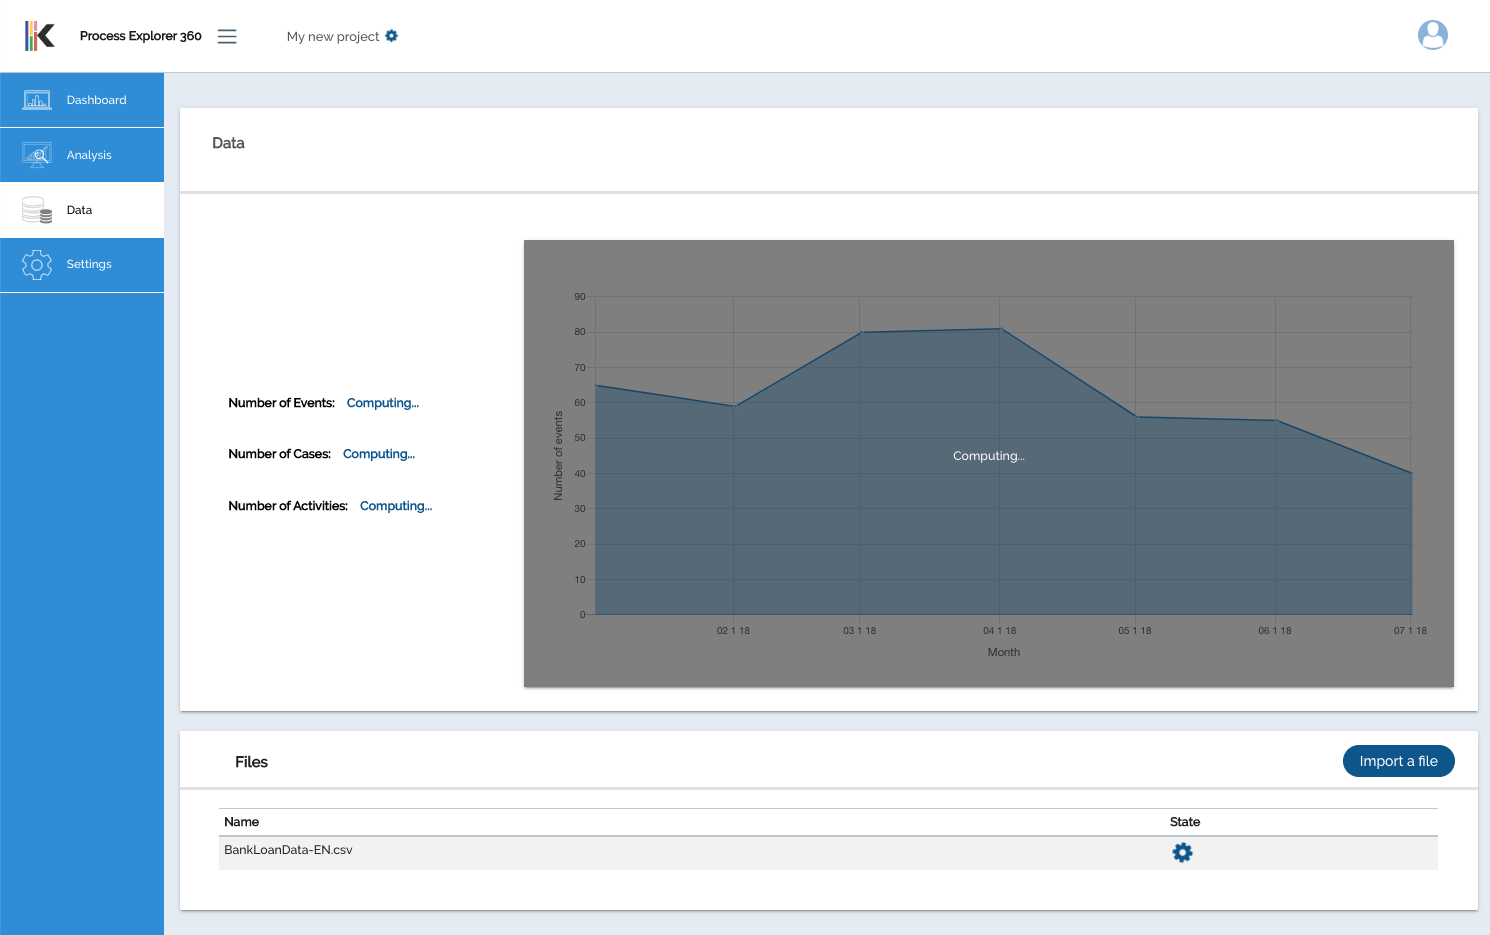
Adding and characterizing the data is now complete. Process Explorer 360 should now process your data (for more details on this step, see the section Project/Add data to a project/Processing the file) ...
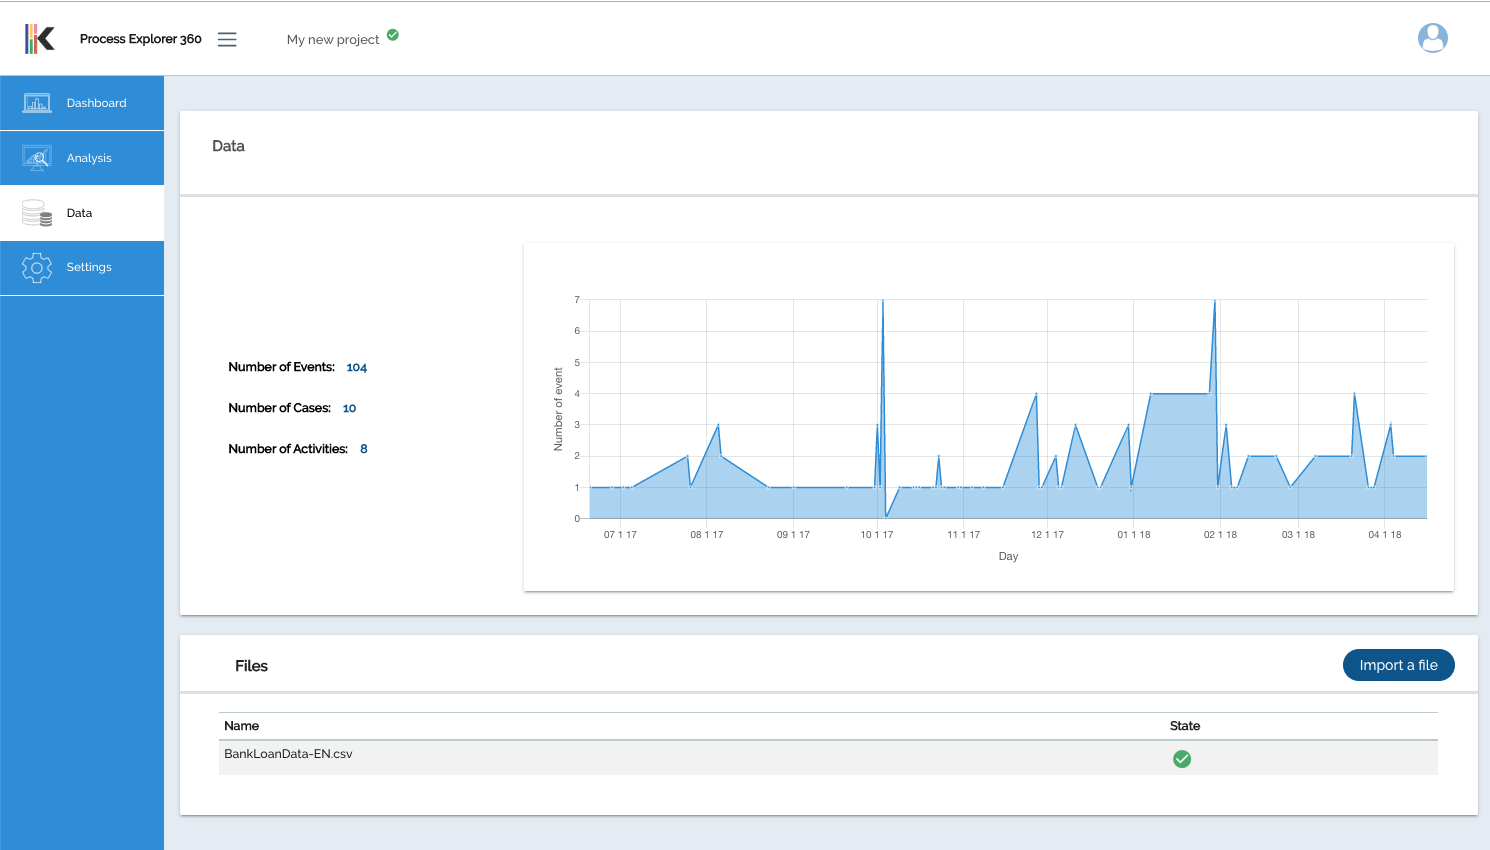
Processing ends when the status of the file and the project have changed to  .
.
3. Start process analysis
Once the data has been processed, you can now start analyzing the process by navigating through the different tabs of Process Explorer 360:
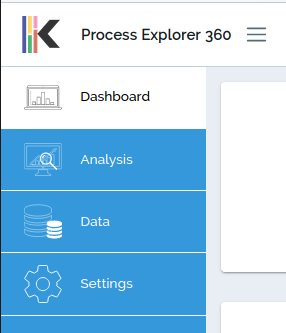
For more information on these different tabs see the relevant sections:
- "Dashboard" tab Project/Dashboard
- "Data" tab Projet/Data
- "Analysis" tab Projet/Analysis
Good analysis with Process Explorer 360!