Import your first data
Example of a file to process (click on the link to download it): Example File
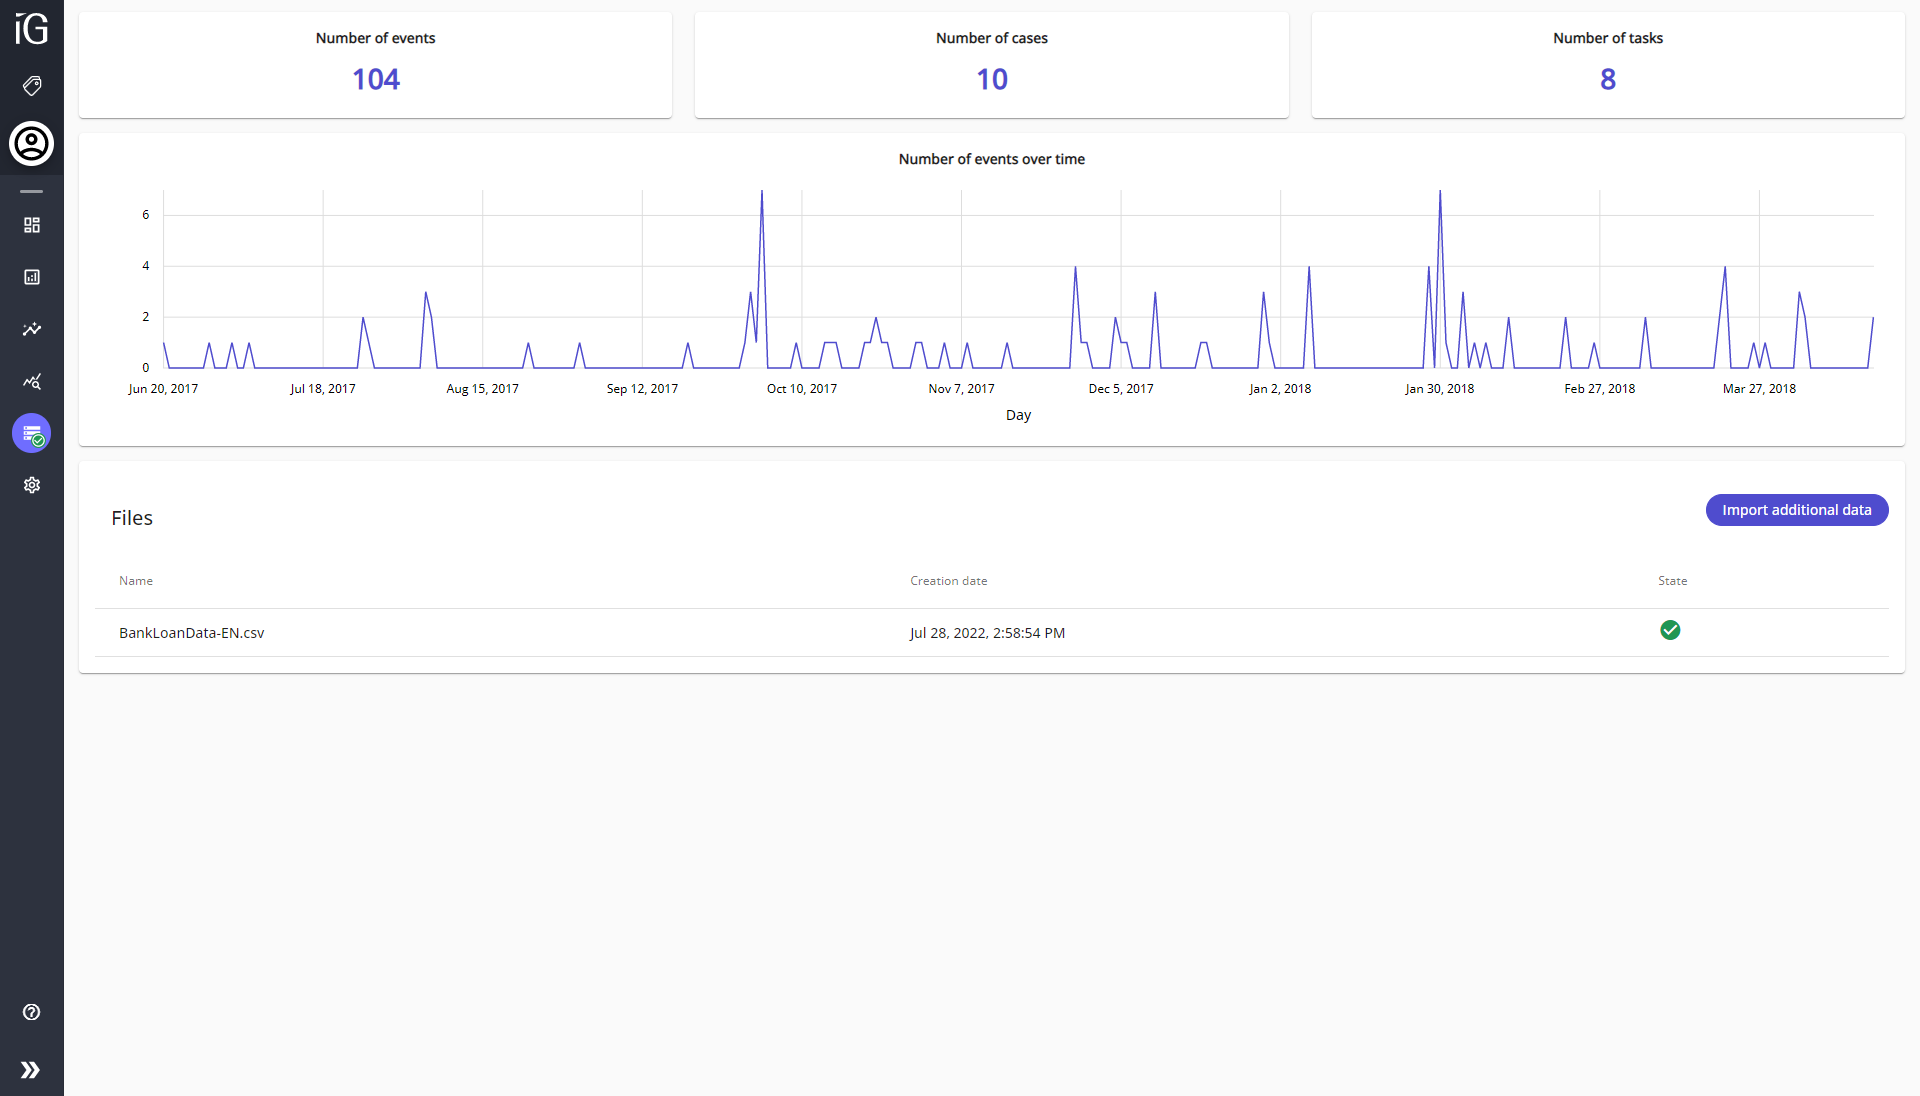
If you have just created or reset your project, you will be directly redirected to the Data page and the popin for adding your first data will open. You can also click on the button below to open the popin.

Step 1
If your project does not yet have data, a popin will appear automatically when opening the project to request the addition of data.
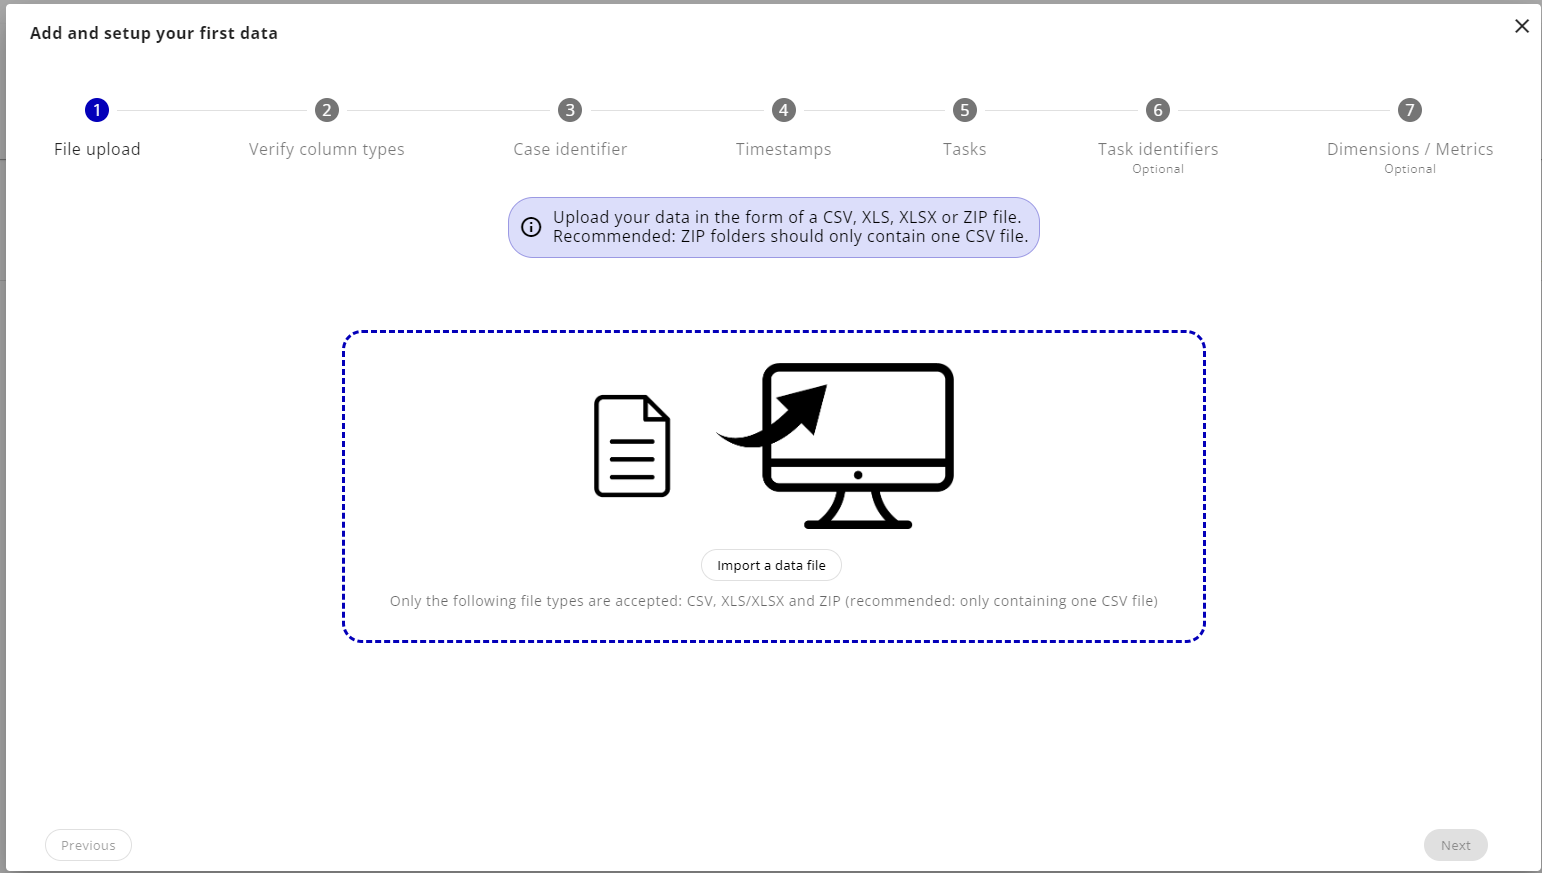
Click on Import a data file to import a file from your computer's explorer, you can also drag and drop the file directly into the window. The file formats accepted are the following:
- CSV (comma-separated values)
- XLS or XLSX (Excel Workbooks)
- ZIP folders (containing either CSV or Excel files)
Recommended:
- Excel files: Only have one page in the file and have the same name for the page across multiple files
- ZIP folders: It is possible to have multiple files in the folder but we recommend having only one CSV file in it.
Warning: If you run into an error you can consult the "known errors" page.
Step 2
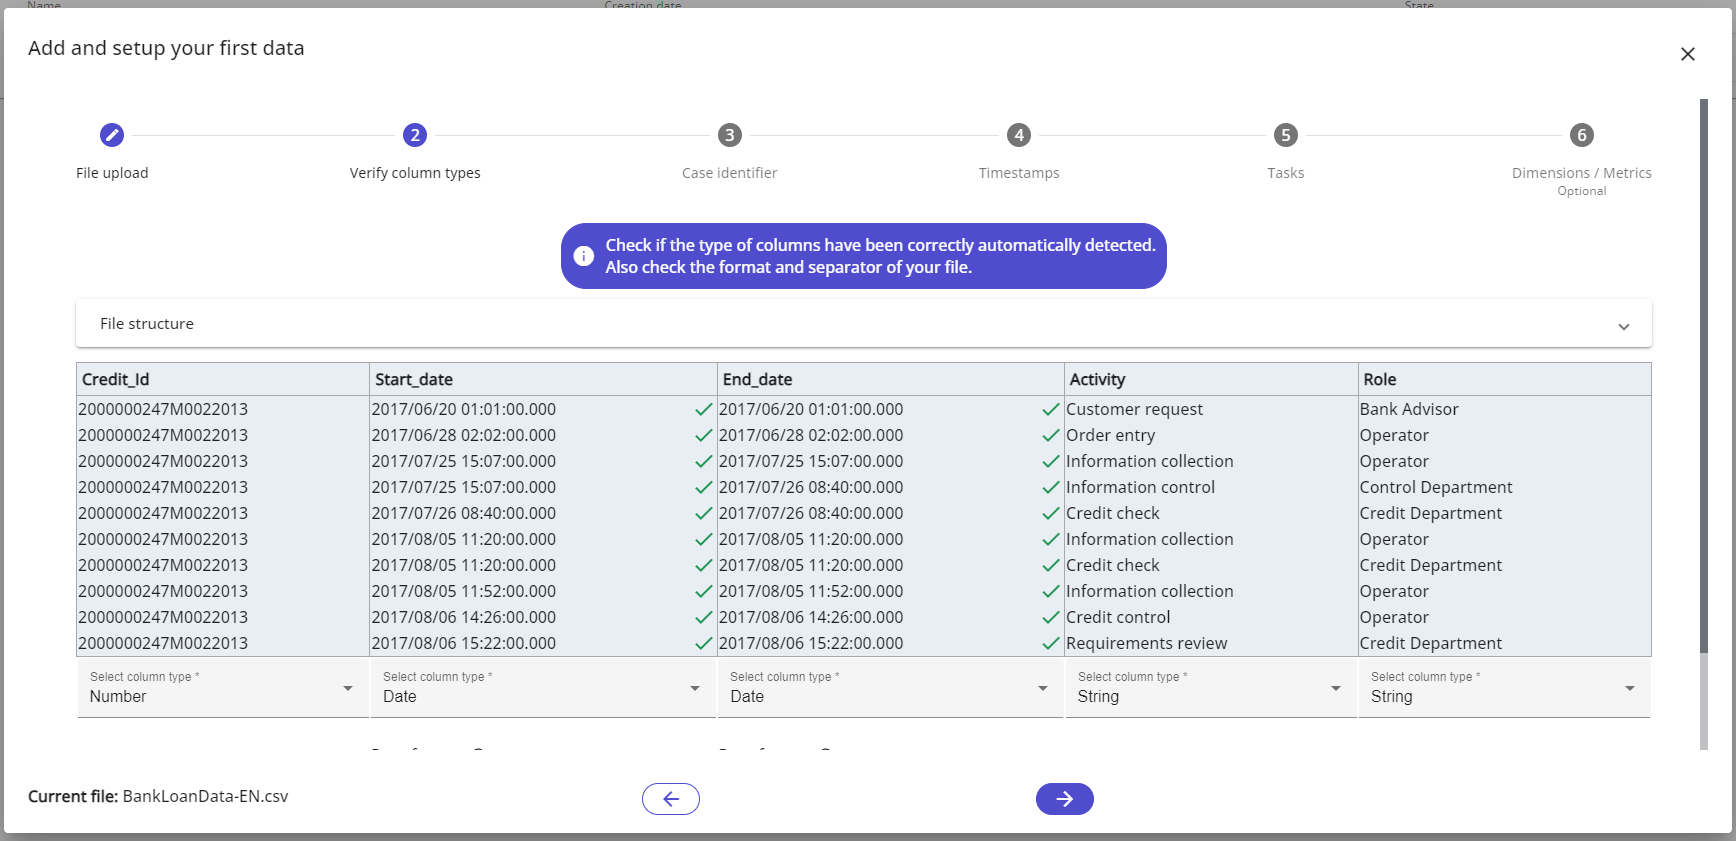
Check that the formats returned by the software correspond to those of the file.
You can edit the file structure in the form below to change the file preview (delimiter, encoding, etc...).

You must then check the format for each column of your file, you must define if the values of the column are a numeric data, a character string or a date.

For date columns, dates that are valid for the specified date format have a green check mark, while those for which the format is invalid have a red cross. When the mouse moves over a validated date line, the date appears as interpreted according to the date format.
If a date column contains a date that does not match the format, it is not possible to proceed to the next step.

Otherwise, click on  at the bottom right to go to the next step.
Step 3
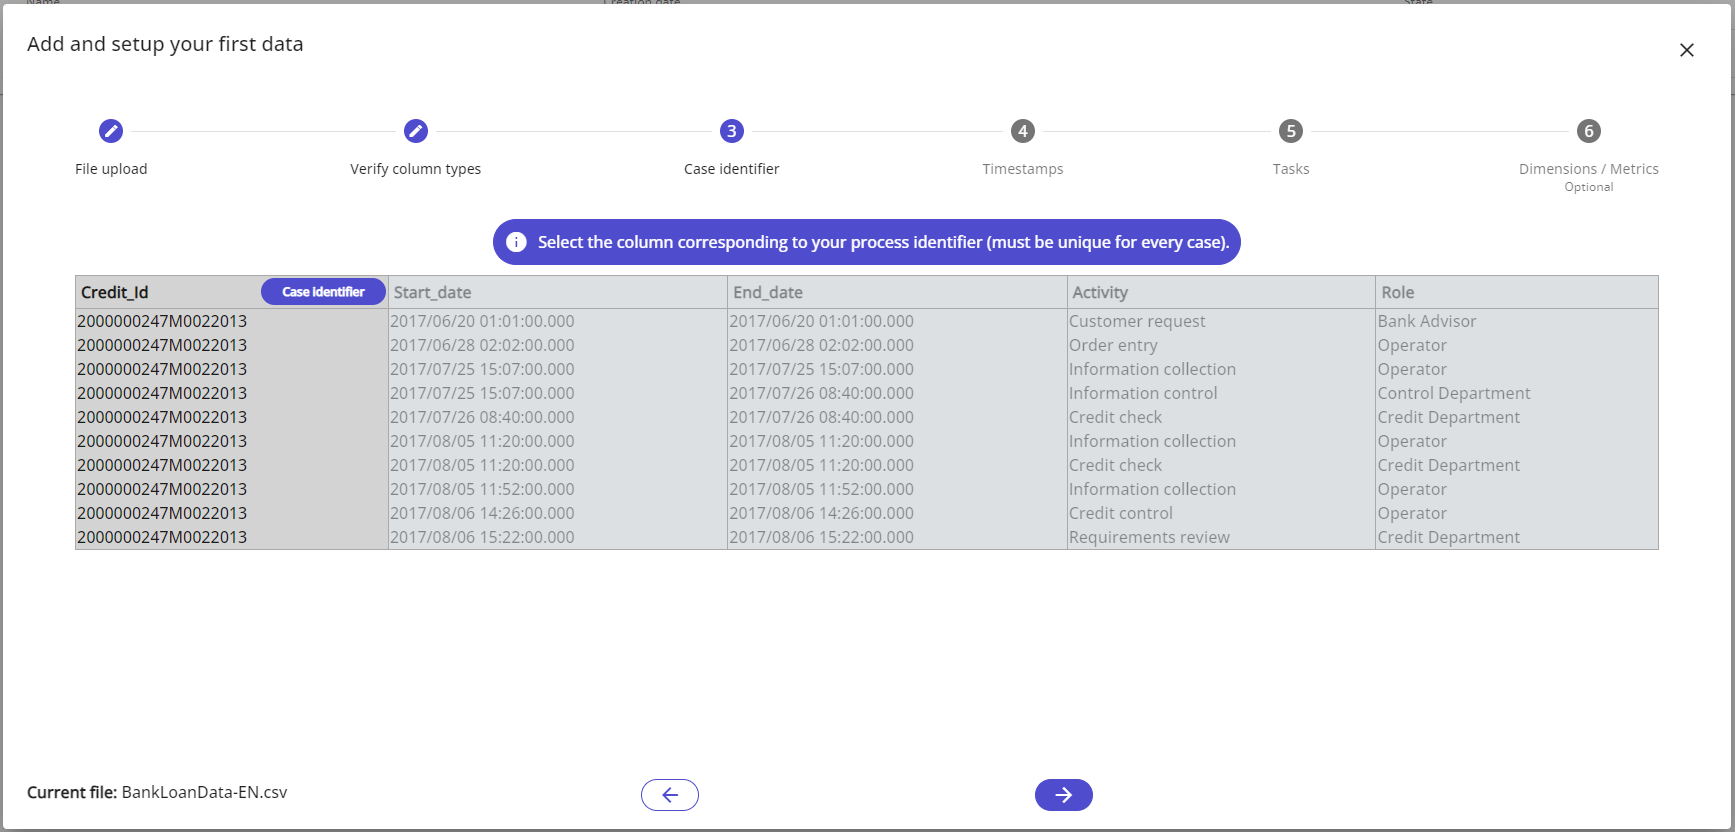
The next step is to select the different mandatory columns for the software.
The first is the unique case identifier.
For example, in a bank for a file representing credits, the identifier will be the credit number.
Once the identifier has been selected, the tool goes to the next step automatically.
Step 4
You then need to select the timestamp(s) of your file. It can be one or two columns.
If you select only one column, you must click on  to go to the next step.
If you select two, it automatically goes to the next step.
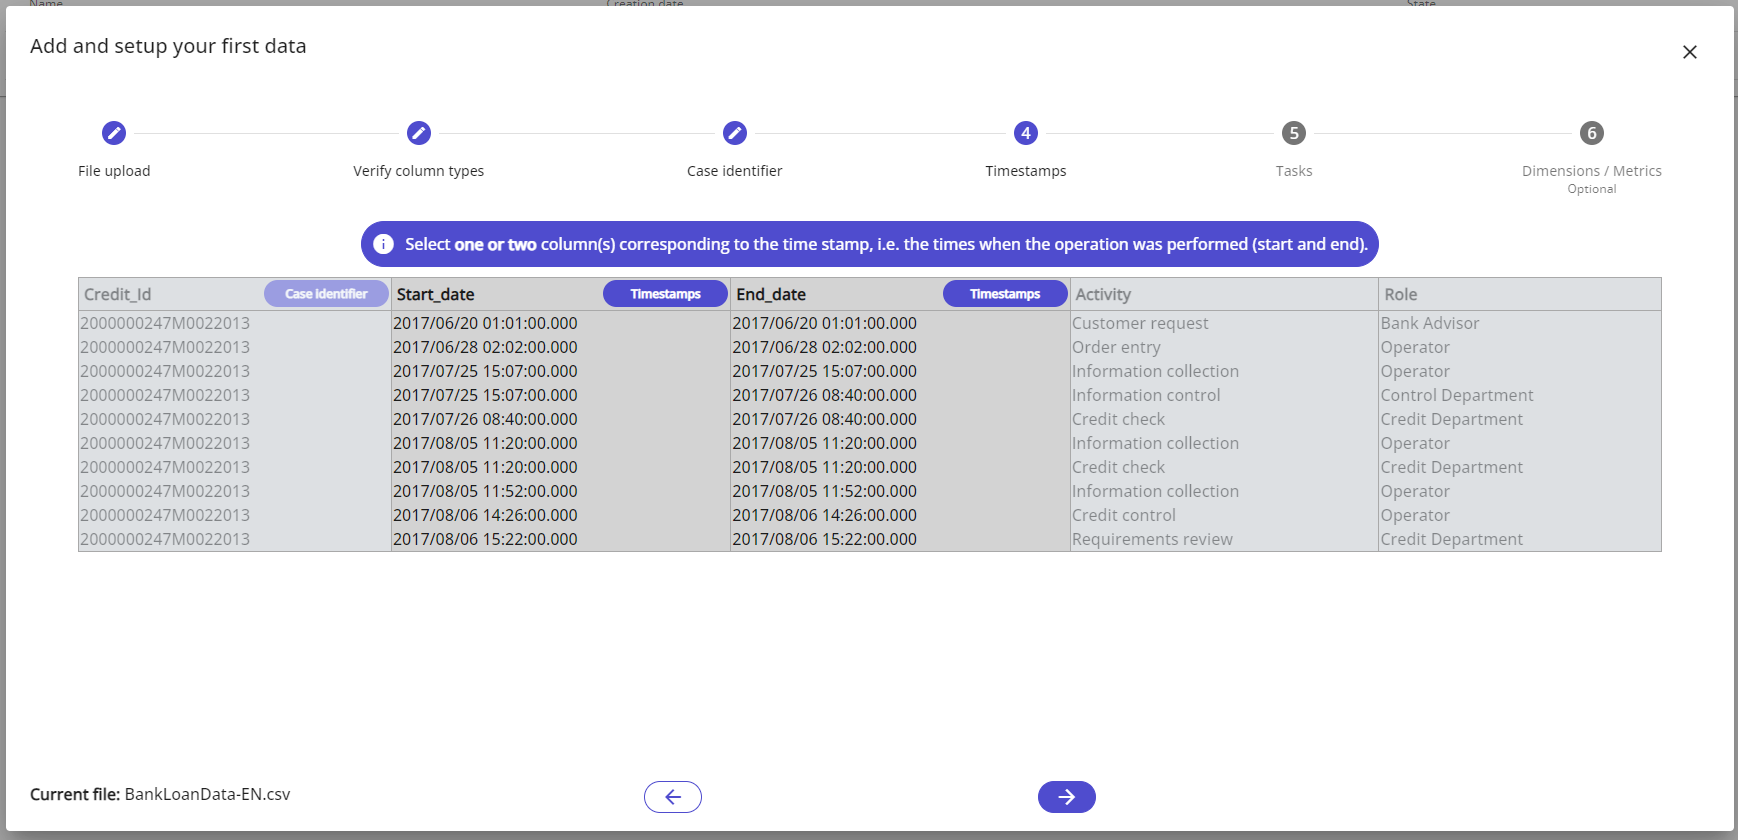
The columns required to process the file are now all selected.
Step 5
We must then select the column representing the tasks, ie the stages of the process.
This value corresponds to only one column.
After selecting the tasks column (which becomes grayed out after selection, like on the image below), you have the possibility to define grouped tasks. For more information regarding grouped tasks, click here
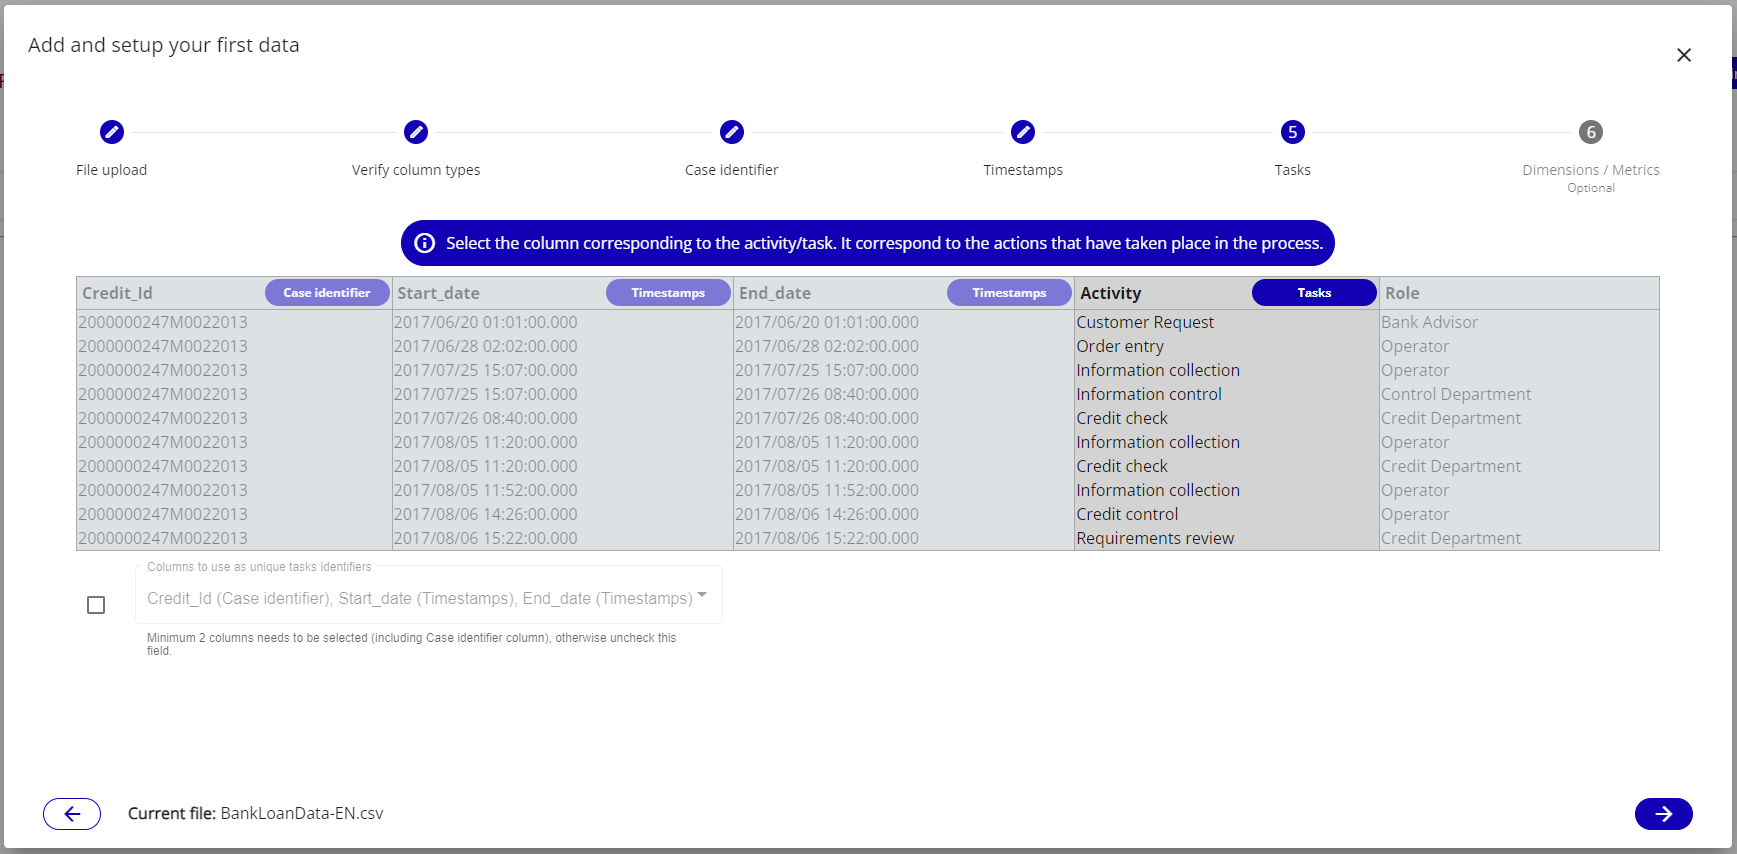
The columns required to process the file are now all selected.
Step 6
You can now add additional columns if you wish. In our example, we are going to add the column containing the roles linked to each activity.
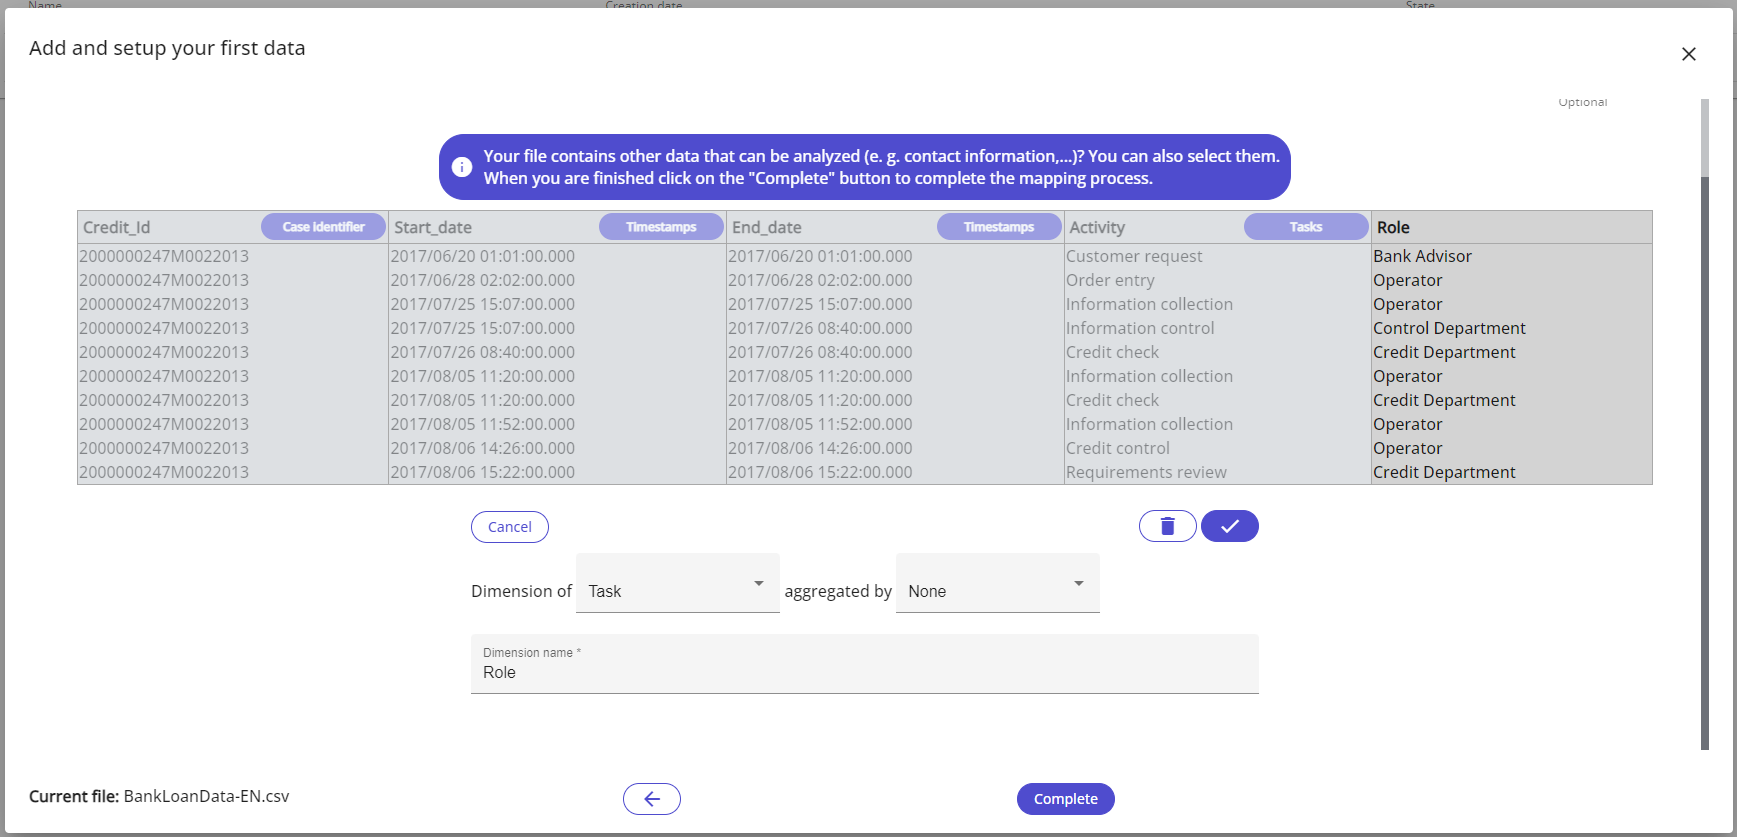
To validate the selection of these columns, click on  (possibility to modify the name if you wish).
For more details, see the additional columns page.
To finish, click on the Complete button.
Resume the data setup
If you left the settings window after downloading your file but you did not finish selecting the columns, you can resume setting up your file.
Click the Finish Data Setup button to reopen the window directly to step 2. You can also delete your pending file and start over with a new file.
Add additional data
To add a second file, go back to the Data page, click on Import other data.
All you have to do is select the file (the format and choice of columns having been made on the first file).
If the format of the files (format and presence of the columns) is not the same then an error is raised.
File processing
To follow the progress of the treatment, you must hover your mouse over the icon on the Data page to see its progress.
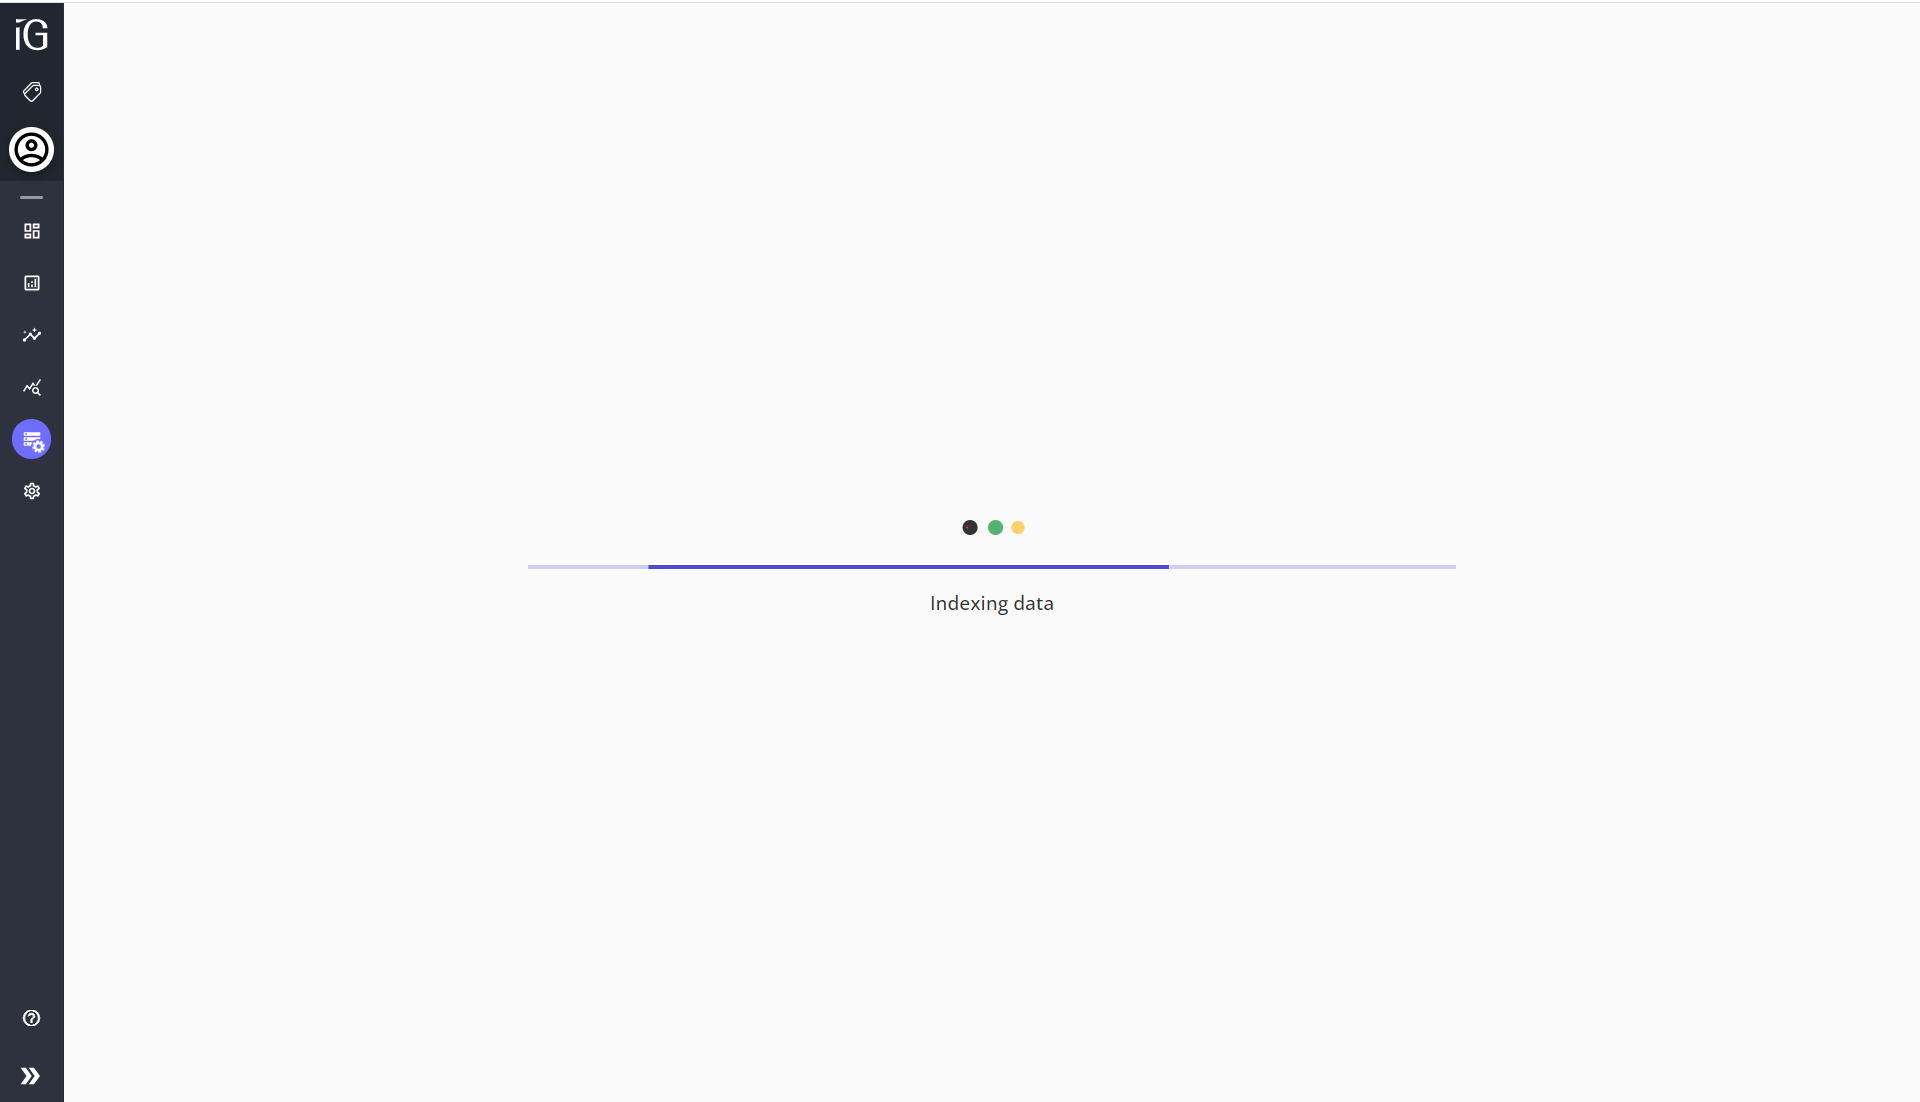
The calculation ends when the state of the file and the project have changed to  .
.
